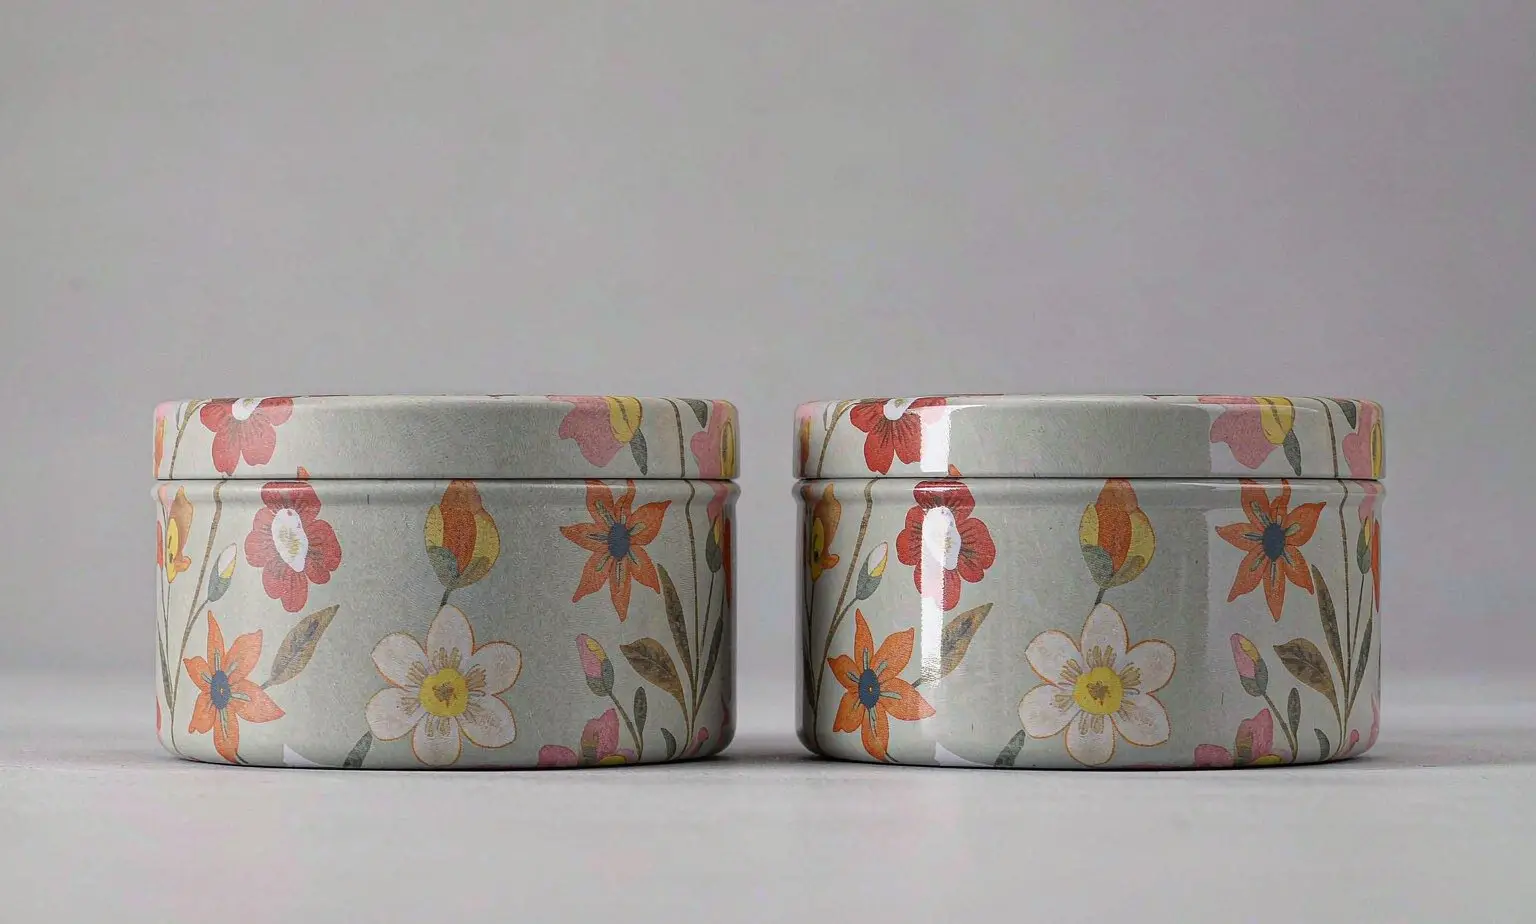
Tin Can Printing Options Explained: Offset, Hot Stamping, Embossing, Varnish & Spot UV
·CNTINWORLD
The finish on a tin can is the first thing a customer touches and remembers — and for many buyers it is the hardest specification to get right. There are five standard tin can printing options used on metal packaging: offset (litho) printing, hot stamping, embossing and debossing, varnish and coatings, and spot UV. Most premium tins combine two or three of them on the same piece.
This guide explains what each option actually does to the metal, what it costs relative to the others, how a printed tin is built up layer by layer, and the four defects worth inspecting before you accept a production run. It is written for brand owners and importers who are specifying [custom tin can manufacturing](The finish on a tin can is the first thing a customer touches and remembers — and for many buyers it is the hardest specification to get right. There are five standard tin can printing options used on metal packaging: offset (litho) printing, hot stamping, embossing and debossing, varnish and coatings, and spot UV. Most premium tins combine two or three of them on the same piece. This guide explains what each option actually does to the metal, what it costs relative to the others, how a printed tin is built up layer by layer, and the four defects worth inspecting before you accept a production run. It is written for brand owners and importers who are specifying custom tin can manufacturing for the first time, as well as anyone comparing quotes between suppliers.) for the first time, as well as anyone comparing quotes between suppliers.
Five decoration options on custom tin cans: full-colour offset litho, gold foil hot stamping, embossed relief, matte varnish and gloss varnish.
The five tin can printing options at a glance
How to choose in 30 seconds
Photography or full-colour artwork? → Offset litho on a white base coat.
Premium metallic accent on a limited budget?
Related Tin Categories
Browse ready molds and customization options in related categories.
Tactile, jewellery-like branding? → Embossing on the lid or brand mark.
Protection and finish control? → Gloss, matte or soft-touch varnish.
Quiet luxury with a point of contrast? → Matte varnish plus spot UV.
Pilot order of a few hundred pieces? → A plain or single-colour tin with an adhesive label (see low-MOQ tin sourcing ).
Offset (litho) printing: the workhorse of tin can printing
Offset printing is the standard for metal packaging. Ink is transferred to the tinplate in full colour with exceptional detail, which makes it ideal for photography, gradients and fine line art. It is the most cost-effective way to cover the entire can with branding, and colours can be matched to Pantone references with a spot-colour pass.
Where offset printing wins
Any design that carries a photograph, a gradient, or more than two or three flat colours belongs on a litho press. Because the ink sits on a coated metal surface rather than soaking into paper, offset on tin produces sharper dots and denser colour than the same artwork printed on a carton — one of the reasons tea tins and gift tins look richer than their paper equivalents.
Where it doesn't
Litho is a volume process. Plates, press setup and a minimum tinplate purchase are fixed costs, so on very short runs the per-can price is dominated by setup, not printing. If your launch quantity is small, compare a printed tin against a labelled one before committing — the maths is covered in the custom tin can cost breakdown .
Offset litho printed tinplate sheets before forming: the artwork is printed flat, then the sheets are cut and drawn into cans.
Hot stamping: metallic foil accents that read as premium
Hot stamping presses a thin layer of metallic foil — gold, silver, rose gold or holographic — onto the tin using a heated brass die. It delivers a jewellery-like accent that offset ink cannot match, which is why it is the default choice for luxury cosmetics, wedding and festive tins. Foil is usually applied selectively rather than across the whole surface.
Foil options and where to use them
Gold and silver — the safest premium signals; ideal for logos, monograms and border frames.
Holographic and diffraction foils — high-impact for seasonal and promotional runs, especially on candy tins and gift packaging.
Pigment foils (matte black, white, pearl) — useful when you want a solid, opaque mark over a dark base coat.
The adhesion catch
Foil adhesion depends on the base coat beneath it and on any relief in the area. A foil applied over matte varnish without testing can flake at the edges after a long sea voyage. Always ask for a rub and tape test on the actual sample, and confirm the foil is compatible with the varnish system specified in the tinplate specification .
Gold foil hot stamping on a tin lid: crisp metallic edges against a matte deep-green base coat.
Embossing and debossing: depth you can feel
Embossing raises the design above the surface; debossing presses it in. Both are formed with matched tools after printing, and both add a tactile, three-dimensional quality that makes packaging feel expensive. They work beautifully on lids, brand marks and decorative frames.
Embossing vs debossing
Embossing reads from a distance because it catches light on its raised edges — strongest on lid tops and large flat panels. Debossing is more subtle and works well for fine lines and typographic marks. On curved walls, keep relief shallow: deep relief on a drawn shoulder distorts the artwork and can thin the coating enough to expose pinholes.
What it costs
Embossing needs one matched male-and-female die per design, so it is a fixed tooling cost rather than a per-can cost. That makes it comparatively cheap to add depth to a lid, and comparatively expensive if you want several different embossed areas across a small set of SKUs.
Embossed relief on tinplate in raking light: the raised pattern catches highlights that flat printing cannot.
Varnish, coatings and spot UV: the finish that protects the print
Matte vs gloss varnish
Gloss varnish makes colours vivid and is the hardest-wearing option — it resists the scuffing that happens when stacked tins rub together in a container. Matte varnish produces a soft, understated surface that many premium brands prefer, but it shows handling marks sooner, which is why matte finishes are often combined with a protective overcoat on high-contact areas such as lids and rims.
Matte vs gloss varnish on identical artwork: the gloss version shows sharper highlights and more saturated colour.
Spot UV and soft-touch
Spot UV adds a glossy highlight on selected areas — most commonly a logo or a pattern laid over a matte base for a subtle premium contrast. It needs to be registered to the artwork like another ink pass, so complex spot UV patterns add cost on the press. Soft-touch coatings, which give a velvet feel, sit in the same family but are more vulnerable to abrasion and are best reserved for lids and panels that are not rubbed in transit.
Combining finishes: how premium tins are actually designed
The strongest designs combine two or three techniques: a full-colour offset base with an embossed logo and a hot-stamped border, finished with matte varnish. A useful rule of thumb is one "loud" element and one "quiet" one — a foil accent on a matte field, or an embossed mark on a litho photograph. Stacking too many effects in one area muddies all of them and adds press passes you pay for on every can.
Your supplier's design team can mock up combinations before tooling. On the CNTINWORLD platform you can also preview finish adjustments — printing effects, materials and coatings — on a 3D mockup before committing to a sample, and browse real production cases to see how combinations look at scale.
How a printed tin is built up, layer by layer
Printing onto tinplate is not the same as printing onto paper. Metal is non-absorbent, so the ink sits on the surface and must be cured rather than dried, and a bare tin surface would distort every colour. That is why nearly every decorated tin starts with a base coat — white for accurate colour reproduction, or a metallic or tinted base when the design wants a brushed or pearlescent ground. Only then do the litho layers go down, followed by a protective varnish. Understanding this stack explains most of the cost and quality differences between suppliers.
Short runs: when labels beat direct printing
Direct litho printing is the right answer at volume, but it is not automatically the right answer for a pilot order. A printed tin requires plates, a press setup and a minimum tinplate purchase, so for a first run of a few hundred pieces a plain or single-colour tin with a high-quality adhesive label can be both cheaper and faster. The trade-off is durability and feel — a label can lift at the edge in humid conditions, and it never looks as integrated as a printed can. Many brands print the base tin and run labels for early SKUs, then switch to full litho once volumes justify the plates.
What actually drives the cost of tin can printing
Four variables set the price of a printed tin:
Number of ink passes. The biggest surprise for first-time buyers — a design that uses full-colour process plus a spot colour plus a varnish is three passes, not one. Each pass adds press time and rejects.
Artwork complexity. Fine reversal type and tight registration slow the press and raise the reject rate.
Run length. Plates and setup are fixed costs; doubling quantity rarely doubles price.
Plate reuse on reorder. If your artwork is stable, plates can be stored and reused, which removes setup cost from every repeat order.
Printing is only one line in the total, of course — material, tooling and freight are covered separately in the cost of a custom tin can .
Colour accuracy on metal: why Pantone looks different on tin
Metal changes how colour reads. A warm grey that looks neutral on paper can appear cooler on a white-coated tin because of the underlying sheen and the way light reflects off a curved surface. Pantone matching is possible but should be judged on a physical proof of the actual tin, viewed in daylight and in shop lighting — never on screen. If several SKUs must sit together on a shelf, proof them together rather than one at a time, because adjacent tins reveal subtle differences that a single sample will not.
##Durability through freight and retail
Decoration has to survive stacking, rubbing and humidity in a container. Gloss varnish is the hardest wearing and the most resistant to scuffing; matte looks more premium but shows handling marks sooner, which is why matte finishes are often combined with a spot UV or a protective overcoat on high-contact areas such as lids and rims. Hot stamping foil adhesion varies with the base coat and the relief, so a foil applied over matte without testing can flake at the edges after a long sea voyage. Ask for a rub and tape test on the sample.
Artwork checklist before you send files
Supply artwork as vector where possible, with bleed around the die line, a clearly marked print area for the curved surface, and a colour list that states exactly how many passes you expect. Avoid hairline strokes below roughly 0.25 mm and reversed type below about 6 pt, because both fill in on a curved metal surface. Convert text to outlines so fonts cannot substitute, and state the intended Pantone references rather than leaving the printer to interpret RGB values. A ten-minute check at this stage prevents a re-plate later.
Four printing defects worth inspecting for
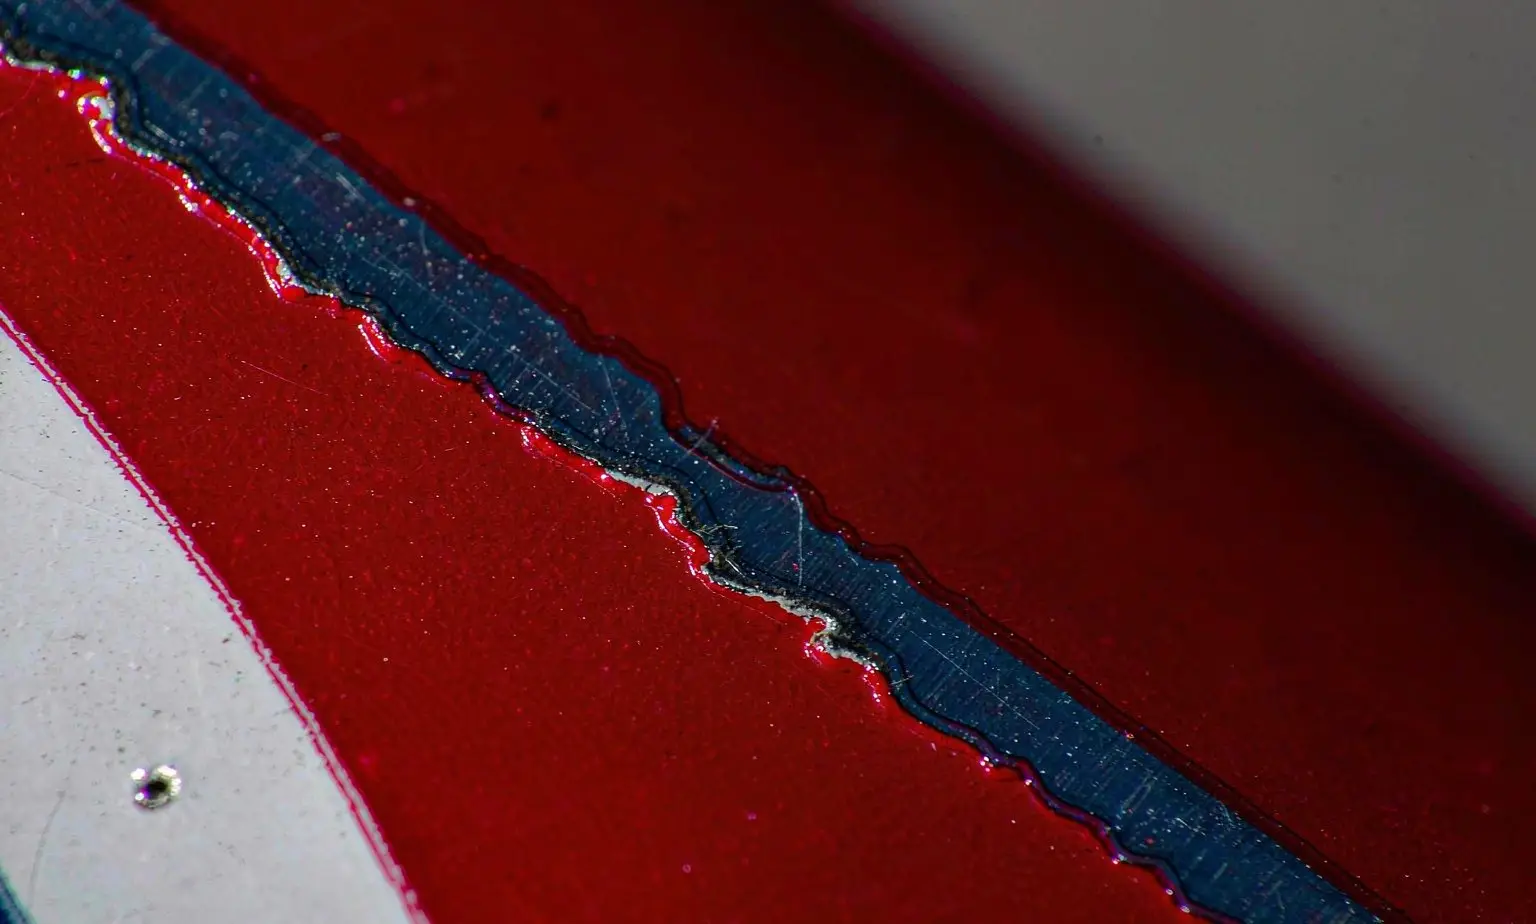
Four faults account for most rejected decorated tins, and all four are visible on a sample.